Creating a New Root Category in Magento 2
Build a New Root Category
- Log into the Admin Panel and click on Product. Then, click Categories from the Inventory dropdown.

- Click the Add Root Category button.

- Fill out the following fields on the General Information tab:
- Name for a new root.
- Choose Enable Category to activate the root.

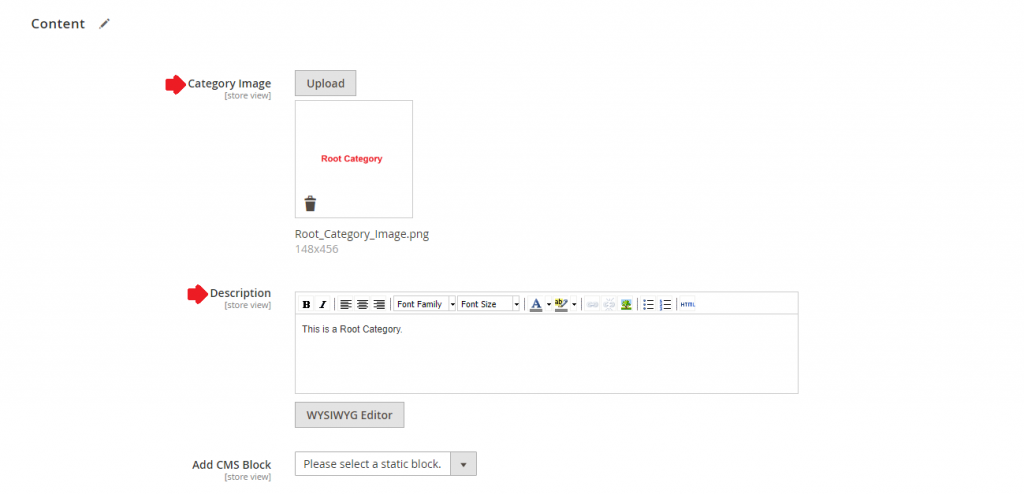
- Type the Description about the root category (Optional).
- Apply the avatar for the root category by selecting the Upload button and selecting the image you would like to use.
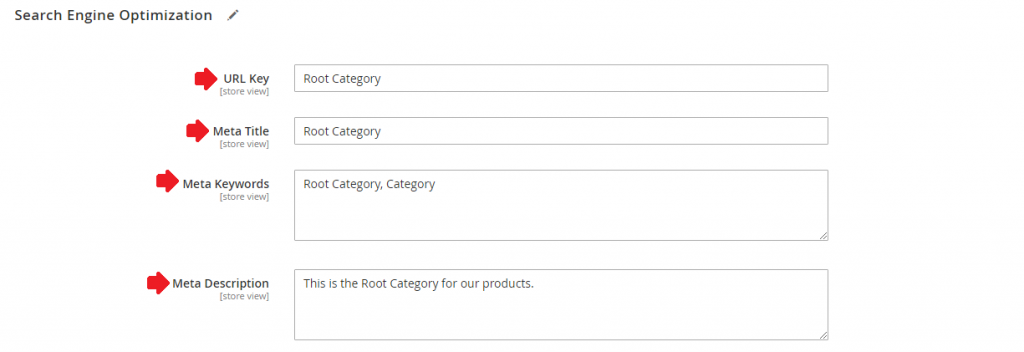
- Under the Search Engine Optimization tab, create the URL Key for the new root.
- Enter the Page Title, Meta Keywords and Meta Description of the new root for better SEO.
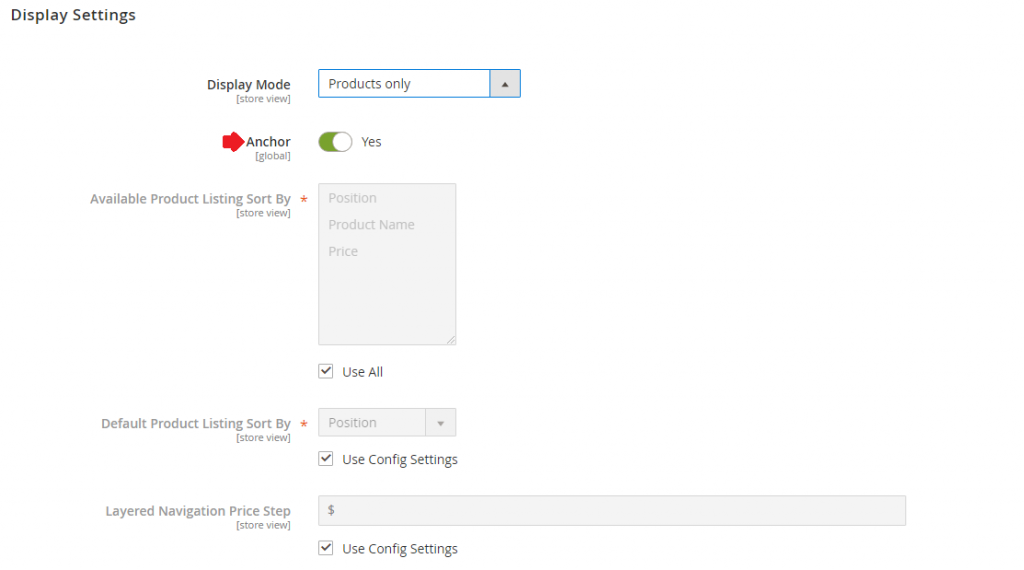
- Then, move to the Display Settings tab and choose Yes for the Is Anchor.
- Click Save Category to use the new root category.
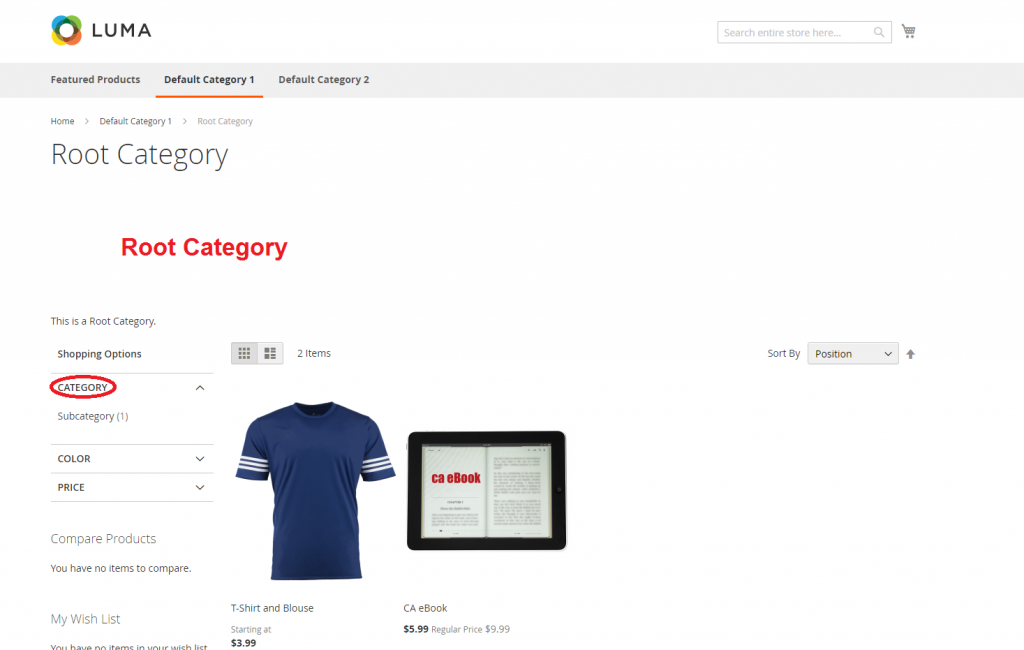
- View the live version of your online store to see the new root category.
Create Subcategories for the New Root Category
- Choose the new root category you created on the left of the settings page.
- Click Add Subcategory.
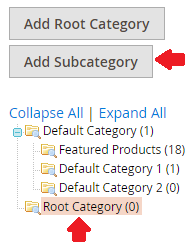
- Input the name of the subcategory in the Name field.
- Choose Enable Category to activate the root.

- Choose the Products you would like to add to this Subcategory.

- Click Save Category to complete.
- Repeat this step again if you need to create more new subcategories.
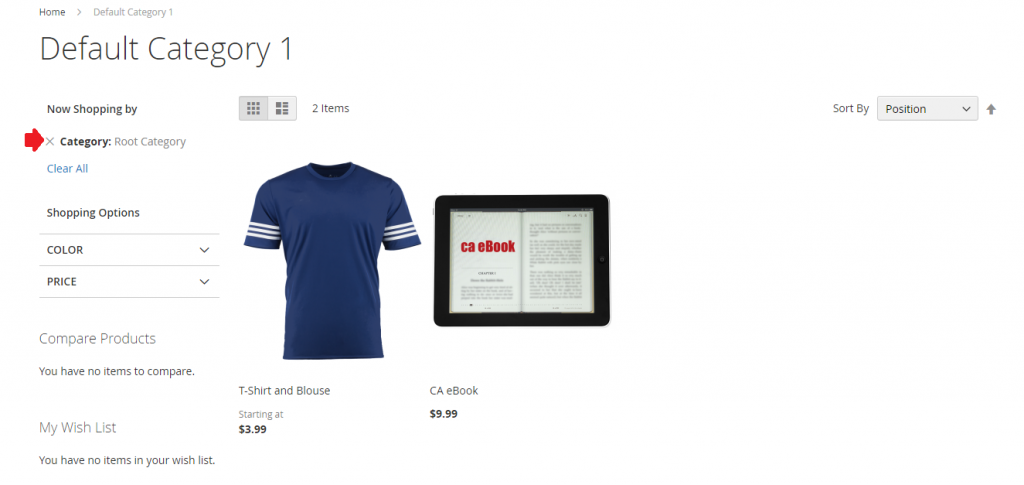
- Once you have created all of the subcategories, you can view them on your live store.
If you are still unsure on how to create a new Root Category in Magento 2 or are interested in our Magento Hosting services, contact us here at Centennial Arts with the link below!


