Pixel™ E-mail Setup
The following simple step-by-step instructions will help you complete set up of an e-mail account with Google’s Pixel™.
- Tap the Arrow icon ^ on the Home screen to display all apps.
- Then, tap the E-mail icon.

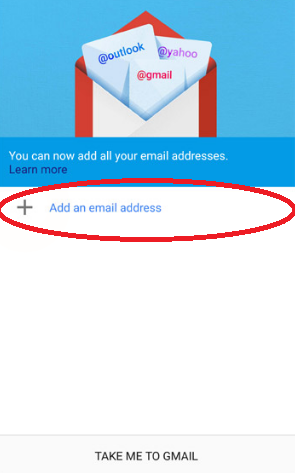
- Tap Add an email address.

- Next, select Other under the Set up email menu.

- Enter your e-mail address.
- Next, tap Manual Setup.

- Ensure that the Incoming server settings information is correct in the following fields:
- Domain\Username
- Password
- Server: imap.centennialarts.com
- Port: 143
- Security type: TLS
- Then, make sure the following Outgoing server settings information is correct in the following fields:
- Sever: smtp.centennialarts.com
- Port: 587
- Security type: TLS
- Tap Next.
- If preferred, enter an account name and then tap NEXT to complete the process.
If you have any questions on Pixel™ E-mail Setup, contact us with the link below!


