Contact us Having a blog can help drive traffic to your website and increase your search engine optimization (SEO). It can also position your brand as an industry leader and help develop better customer relationships. However, managing a blog account can be a little confusing for first time users. We have put together some tips on how to use your blog account with Centennial Arts.
How to Use Your Blog Account with Centennial Arts
How to Login to Your Blog
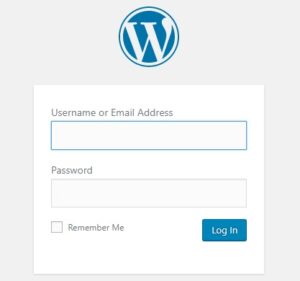
The URL for your blog will depend on the URL for your website. For most that have blog accounts with Centennial Arts, your login link will be:
- blog.your-domain-here.com/wp-login.php
Simply replace “your-domain-here” with the domain for your website.
How To Add a New Post (Blog Article)
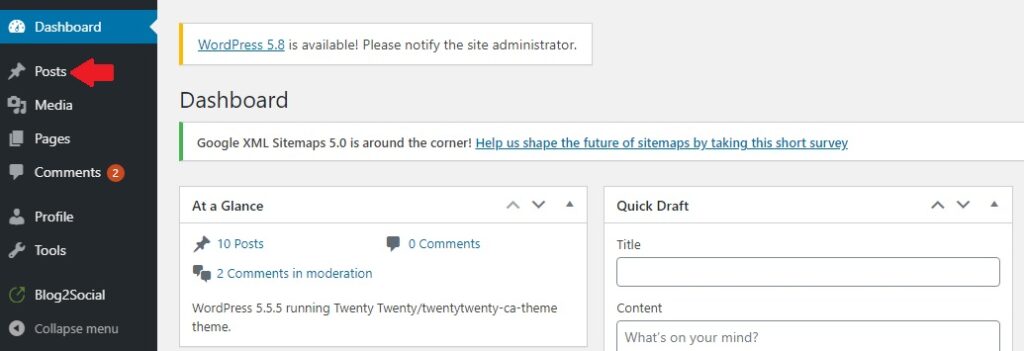
Once you are logged into your blog account, you will see the Dashboard to manage your account. To add a post, click the Posts tab on the left-hand panel. Then, click Add New at the top of the page.
How to Edit a New Post
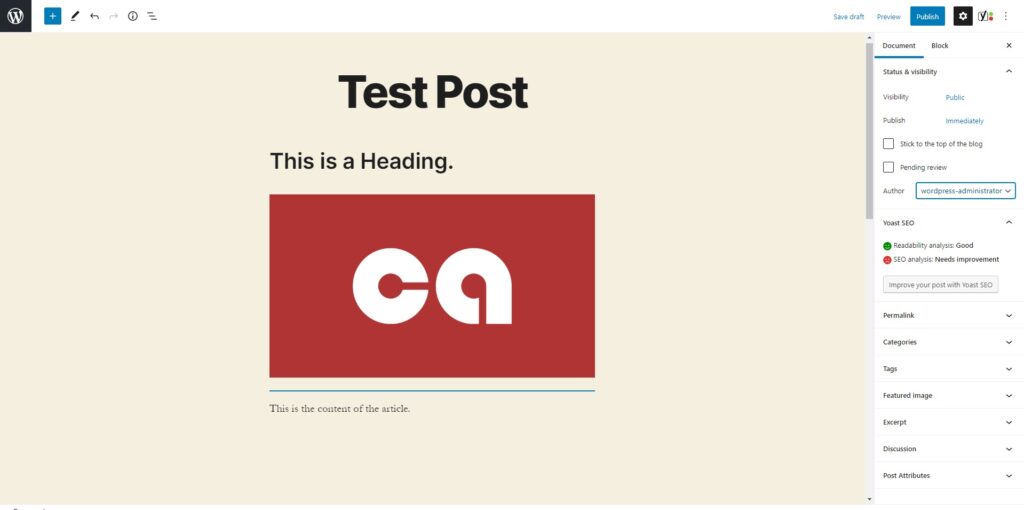
Adding a Title
You can add a title to your post by clicking the “Add title” at the top of the editor screen. For this example, we made the title of the article “Test Post” as seen above.
Adding a Heading

- To insert a heading, place your cursor in the block that you would like the heading to be and click the + sign from the toolbar at the top of the page.
- Then, select the Heading icon from the panel that appears.
![]()
Centennial Arts blog accounts support the use of the following heading styles:
h1 heading
h2 heading
h3 heading
h4 heading
h5 heading
h6 heading
Adding an Image
- You can add an image to a post by placing your cursor in the block you would like your image to be.
- Then, click the + sign from the toolbar at the top and click the Image icon.
![]()
Adding a Gallery
A gallery is a multiple images grouped together side by side in a post.
- You can add a gallery by placing your cursor in the block you would like your image gallery to be and clicking the + sign.
- Then, select the Gallery icon.
![]()
Adding a Table
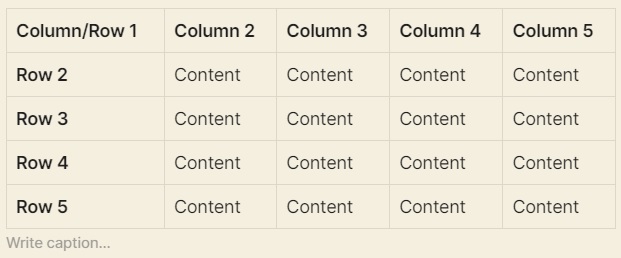
- To add a table, click the + sign from the toolbar and select the Table icon.

- Then, put the number of columns and rows you would like this table to have.
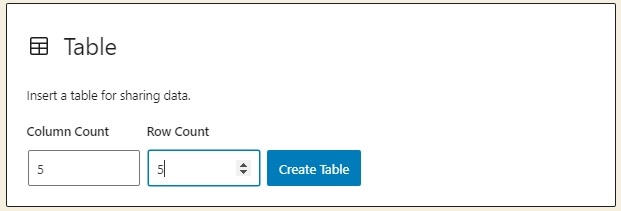
Here is an example of what your table will look like:
Formatting Text

Our blog accounts also support the ability to format your text freely by adding bold text and italicized text. When you highlight the text, a toolbar will appear. You can click the B or I to format the text as you like.
Categories and Tags
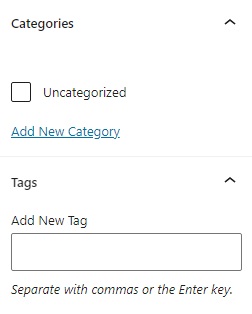
Categories allow you to sort and group your blog posts into different sections. For example, you might have a News category for your website specifically for all updates related to your business.
Tags are similar to categories, but are generally used to describe your post in more detail. For example, you might have a News related post about a new product or service your company is offering. The name of your new product or service is a great tag for this post.
- You can add a category or a tag to your post by clicking the Settings icon from the toolbar at the top right-hand side of the page.

- Once you click the Settings icon, a panel will appear on the right hand of your screen. Scroll down to the Categories dropdown and insert or select an existing category for your post.
- Similarly, you can insert or select an existing tag for your post under the Tags dropdown directly beneath the Categories section.
How to Save Post
Always make sure to save your post before logging out of your blog account to ensure no changes you made are lost. You can either Save draft or Save as pending.
Saving as draft is the ideal saving method if you plan to edit the post later before publishing. To Save as draft, click the Save draft option from the toolbar on the top right side of the screen.
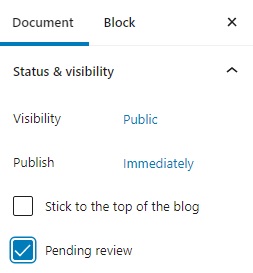
Save as Pending typically means the post is complete and awaiting review before publishing. To Save as pending, select the Pending review checkbox from the panel on the right hand side of the screen. Then, click Save as pending from the toolbar on the top right side.
How to Preview Post
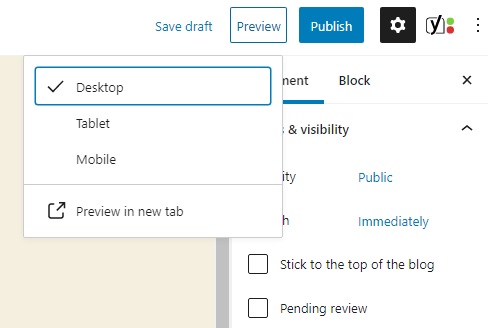
- To preview your post, select the Preview option from the toolbar on the top right hand side of the screen.
- Then, choose Preview in new tab to see what your post will look like to public visitors. Under this dropdown, you will also see the option to preview what your post will look like on desktop, tablet and mobile as well.
How to Publish Post
When it comes to publishing a post, you can either choose to Publish immediately or Schedule to be posted later. If you would like to immediately publish your post, simply click the Publish button from the toolbar on the top right hand side of your screen.
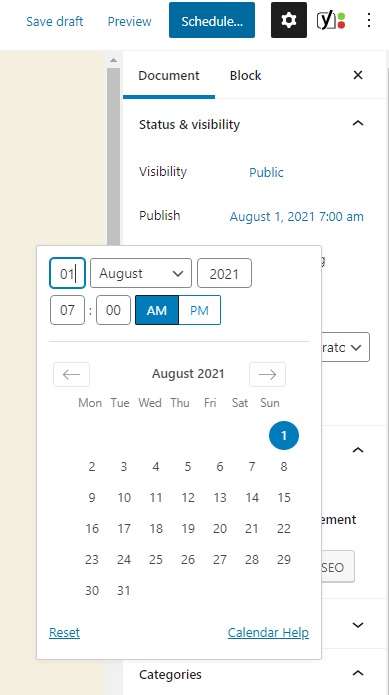
- If you would like to Schedule a post for later, click the “Immediately” text next to Publish on the right hand panel. A calendar will appear for you to select a date and time for this post to be published.
- Select the date and time you would like to publish, then click the “Schedule…” button from the toolbar at the top right hand side.
These are just the basics on how to use your blog account with Centennial Arts. Don’t hesitate to contact us with the link below if you have any questions!
Contact us


