Need help to place a nav bar in caWeb Designer or help on what to do with a Nav Bar. With the selection of Nav Bars you can choose the the one you want. You can also change the page names and link the pages to the pages you want to go to. Today, I am going to show you how to place, name, and link your navigation bar.
Instructions on how to create a navigation bar in caWeb.
1
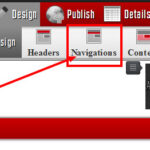
To place a navigation bar on your site you need to click on the navigation button. Then select the appropriate number of pages that fits your design.

2
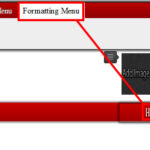
After you have selected the nav bar you can customize the page names by clicking on one of them once. Now you will see a bar appear on the screen saying formatting Menu which allows you to begin typing the page name.

3
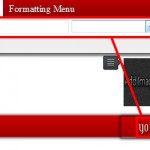
After you placed the page name you can now give the button a link by clicking on it again. Now you will see a url menu tab appear next to the formatting menu tab. This menu allows you to give the button a link to the proper page or another page in a different site.


One thought on “Creating a Navigation Bar in caWeb Designer”