How to Upload Images To Your Website
Introduction
This guide will walk you through the process of logging into your account, uploading media files, and adding alt text and title text to ensure your images are properly optimized for the website.
Step 1: Logging Into Your Account
- Check your email for an account activation message with the subject “[Website Name] Login Details” This email will contain your username and a link to set your password.
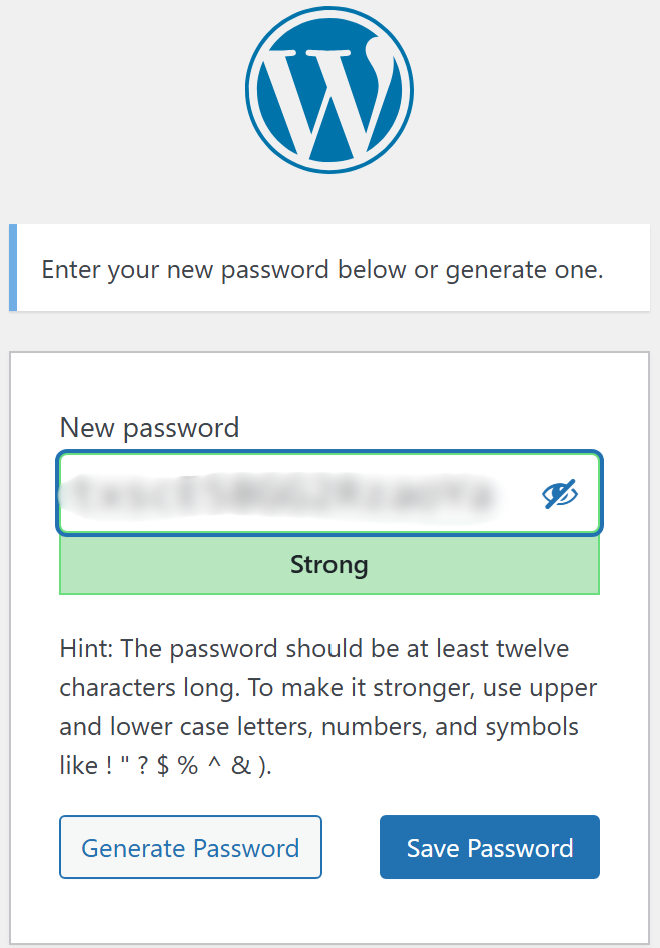
- Click the first link in the email to set your password.
- Enter a password under New password or keep the auto generated password. Copy and save it for logging in, and click Save Password.
- Click Login to go to the WordPress login page.
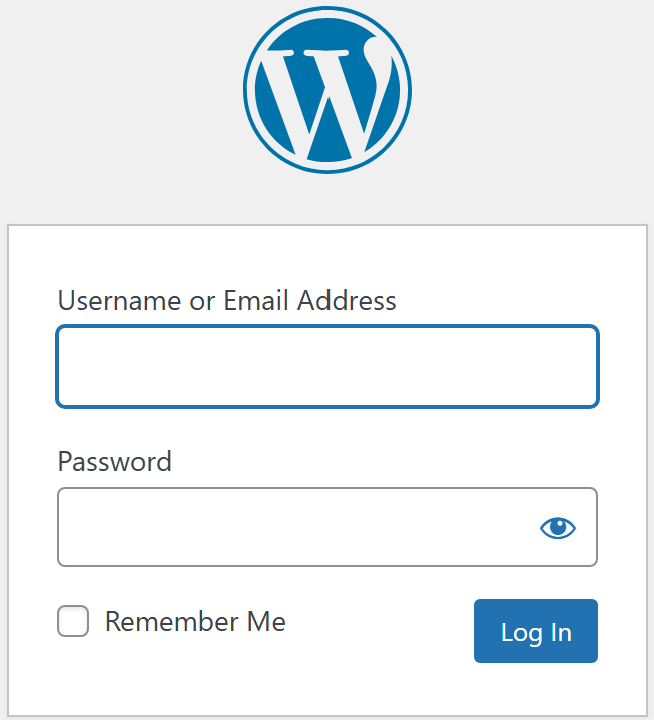
- Enter your username and password, then click Log In.
Step 2: Uploading Media Files
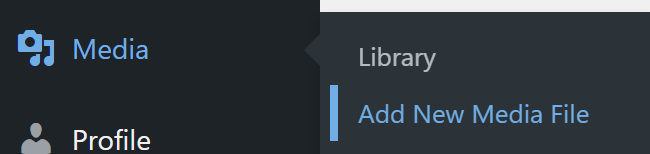
- Once logged in, hover over Media in the left sidebar and click Add New Media File.
- Click Select Files and choose the images or files from your computer.
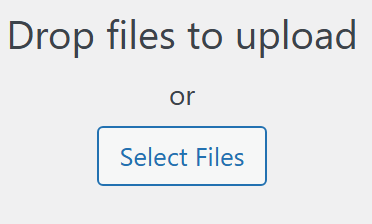
- Wait for the upload to complete.
Step 3: Adding Alt Text & Title Text
After uploading your images, it’s important to add alt text and title text for accessibility and SEO.
- Hover over Media and click on Library.
- Click on the uploaded image to open the attachment details panel.
- In the Alt Text field, enter a brief description of the image.
- Example: “Blue safety helmet with adjustable strap”
- In the Title field, enter a name for the image.
- Example: “Safety Helmet – Blue”

- Example: “Safety Helmet – Blue”
- Click the X in the top right to close the panel—your changes are automatically saved.
Step 4: Logging Out
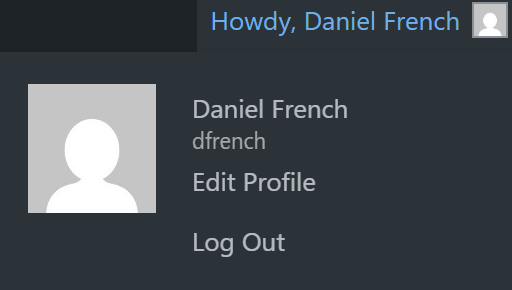
- Hover over your username in the top right corner of the screen and click Log Out to securely exit your session.
If you experience any issues logging in or uploading media, please contact our support team.
Next Steps: Editing Images Before Uploading
If you need to remove the background from an image before uploading it, check out our guide:
➡️ How to Remove the Background from an Image in Windows
This guide will show you how to use Windows Photos to remove backgrounds and save images in a transparent PNG format, ensuring they look clean on the new website.