Adding Root Certificate in Internet Explorer
Introduction
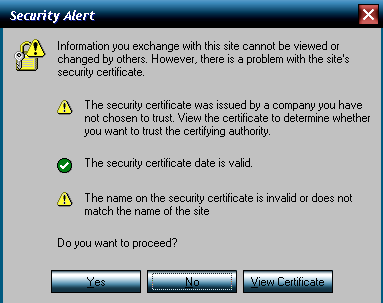
The error message that will pop up when going to a site will say: “The security certificate was issued by a company you have chosen not to trust. View the certificate to determine whether you want to trust the certifying authority.” The cause of this pop up is that the certificate is not being installed on the browser. In order to fix this problem, refer to the steps below.
Steps to Adding a Root Certificate
1
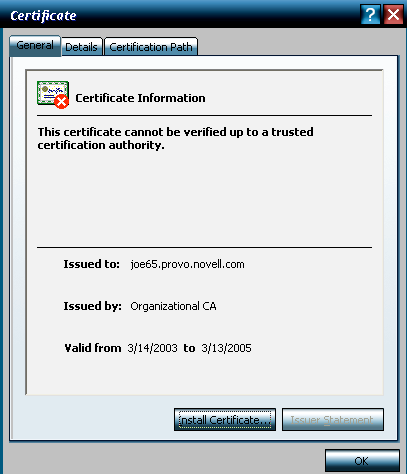
Download the Certificate First! To import the certificate into a trusted root, first click on View Certificate.
2
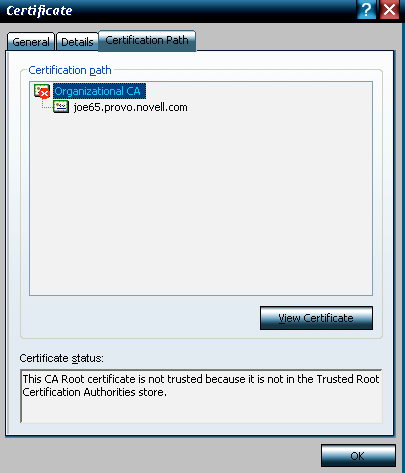
After clicking on View Certificate, DO NOT click on Install Certificate. This option will not import the certificate properly. You will first need to select the Certificate Path tab.
3
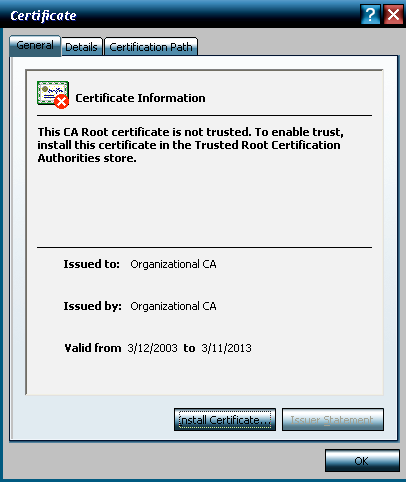
Once you click the Certificate Path tab, highlight the Organizational CA, and then click on View Certificate.
6
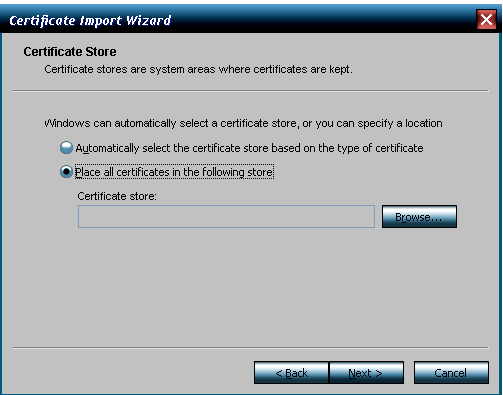
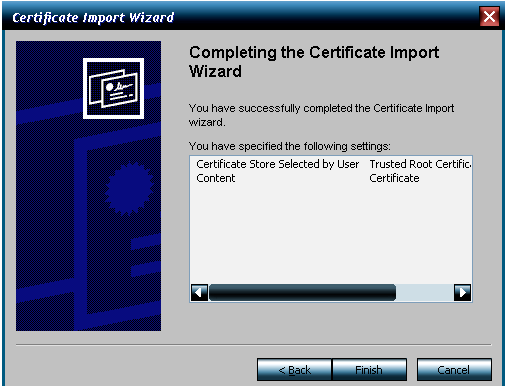
Choose the option to Place all certificates in the following store. Then select the Browse button.
7
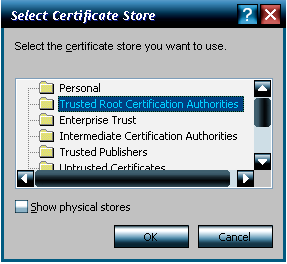
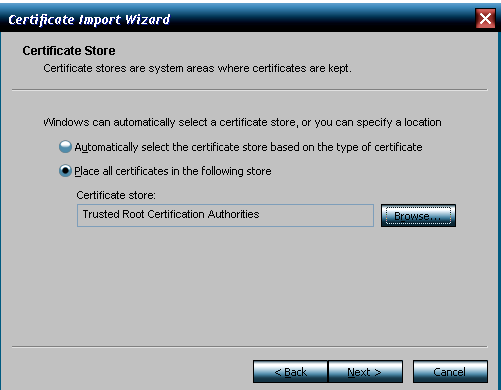
Within the browse option, select the Trusted Root Certificate Authorities. Then click OK.
10
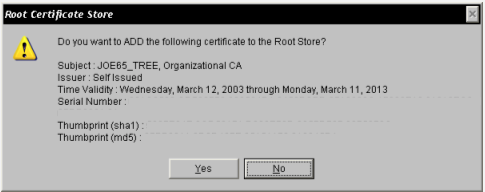
You will be prompted to add the certificate to the Root Store. Your screen my be different than the graphic shown below. In the graphic below the serial number and thumbprints have been blotted out for this public document. Click Yes to continue.


