How to Add Calendars to CA Email Accounts in Outlook (2007 and Newer)
There are many benefits of using calendars within your business email account. We have put together the steps on how to add calendars to CA email accounts in Outlook using the 2007 and later versions.
How to Add Calendars to CA Email Accounts in Outlook
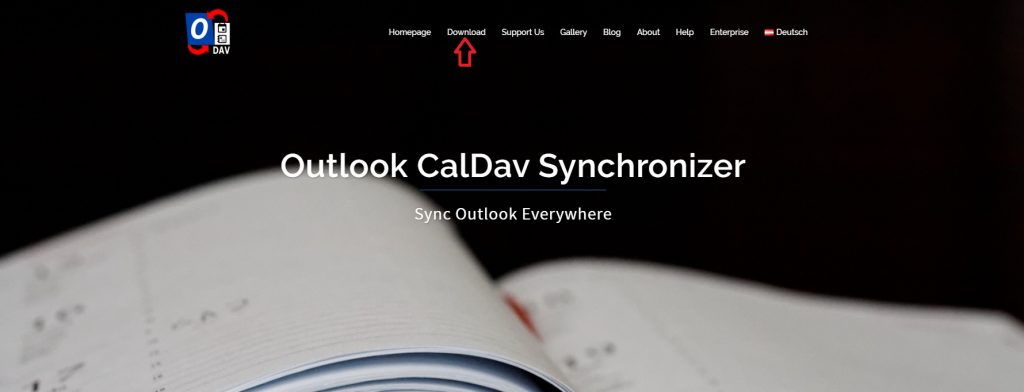
- First, install the integration software. You can do this by going to https://caldavsynchronizer.org/ and clicking Download at the top.
- Then, scroll down and select the latest version of the software.

- Follow the installation process in the Setup Wizard.
- Next, start Outlook and select CalDav Synchronizer from the bar at the top of the page.

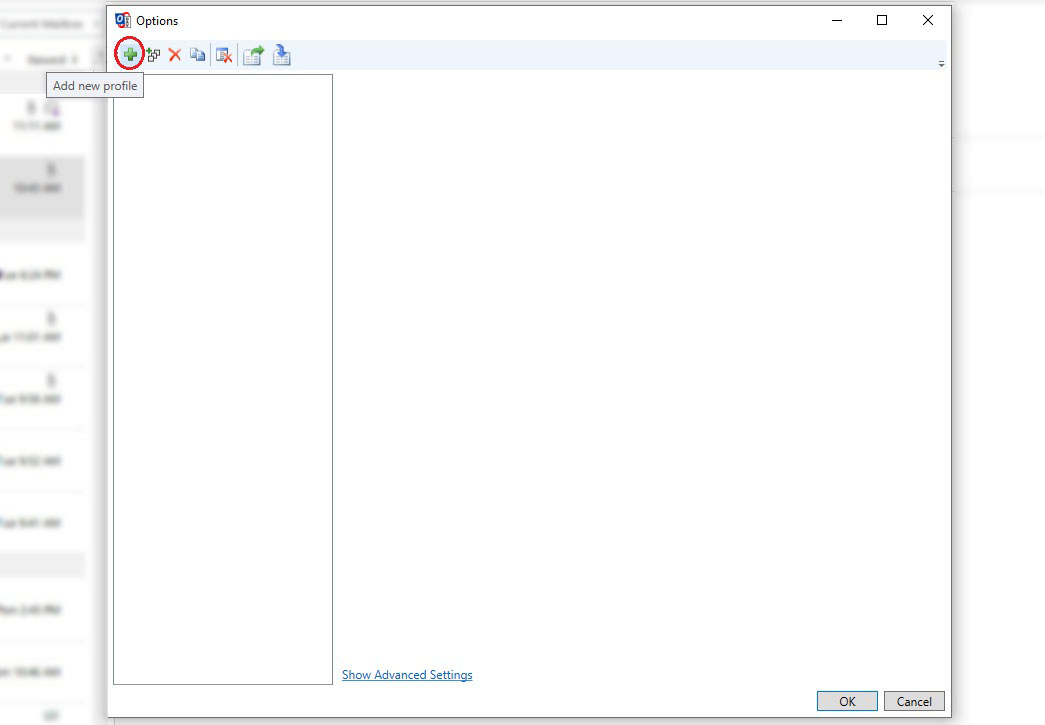
- From the options, choose Synchronization Profiles and an Options panel will pop up.

- Select Add New Profiles (+)
- Then, select Generic CalDAV/CardDAV.

- Set up the following Options:
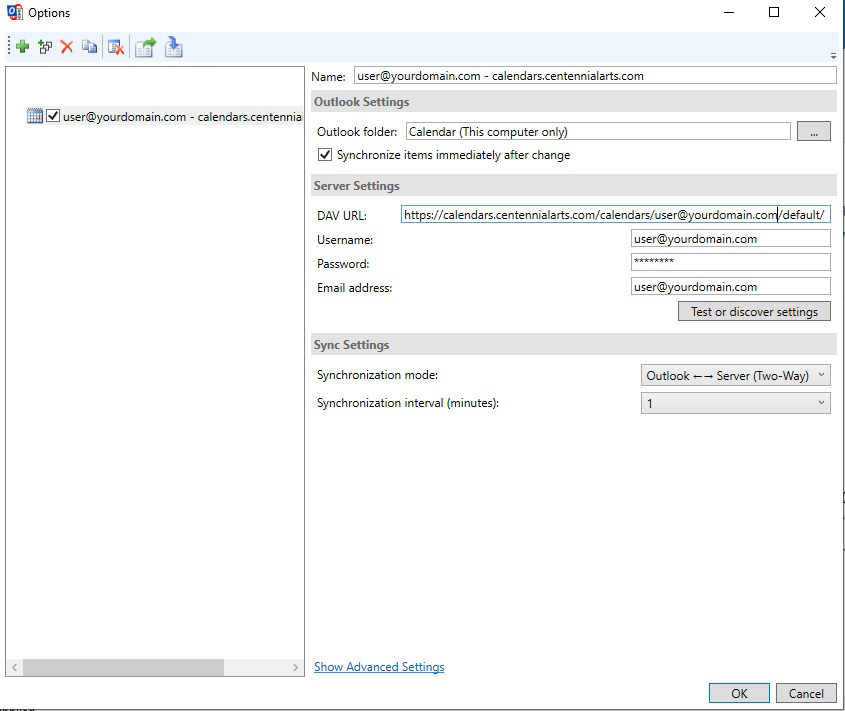
- Name: Your email address – calendars.centennialarts.com
Outlook Settings - Outlook Folder: Select the 3 dots on the right side and choose Calendars (This computer only)
WARNING: Make sure this is under the email account you are wanting to set this up for. - ✅ Synchronize items immediately after change.
Server Settings - DAV URL: https://calendars.centennialarts.com/calendars/YOUR-EMAIL-ADDRESS/default/
- Username: Your email address
- Password: Your password
- Email Address: Your email address
Sync Settings - Synchronization Mode: Outlook <– –> Server (Two-Way)
- Synchronization interval (minutes): 1
- Name: Your email address – calendars.centennialarts.com
- Next, select Test or Discover Settings. If everything worked properly, a window will pop up that says “Connection test successful”.
- Click Show Advanced Settings
Under the Event Mapping Configuration Menu- General Event Mapping Settings: ✅ Use GlobalAppointmentID for UID attribute
- Outlook Settings: ✅ Map event color to category
- Click OK and you have successfully completed the process.
- You can either add another profile using the above steps, or click OK to close the window.
NOTE: You can click “Synchronize Now” to push/pull changes on each profile to the servers.
Don’t hesitate to contact us here at Centennial Arts with the link below if you have any questions!