

If you are wanting to setup auto-email forwarding so that it will automatically forward any emails sent to a specific account to another account, you are able to do this with caMail. This is useful if you have an employee who no longer works for your company, or if you are wanting to consolidate your email accounts so you only have to check one.
How do I set this up?
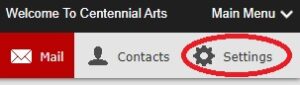
- Log into Webmail and click Settings. in the upper right hand corner of the screen.
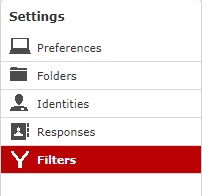
2. Click on the Filters tab on the left hand panel.
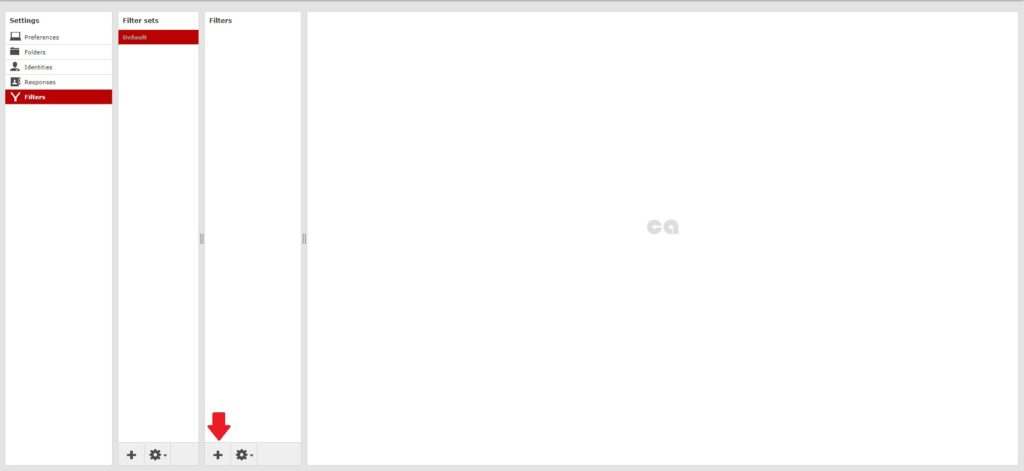
3. Click on the Filter Set of your choice. Make sure the Filter is enabled as well.
4. Click on the Add Filter sign (+).
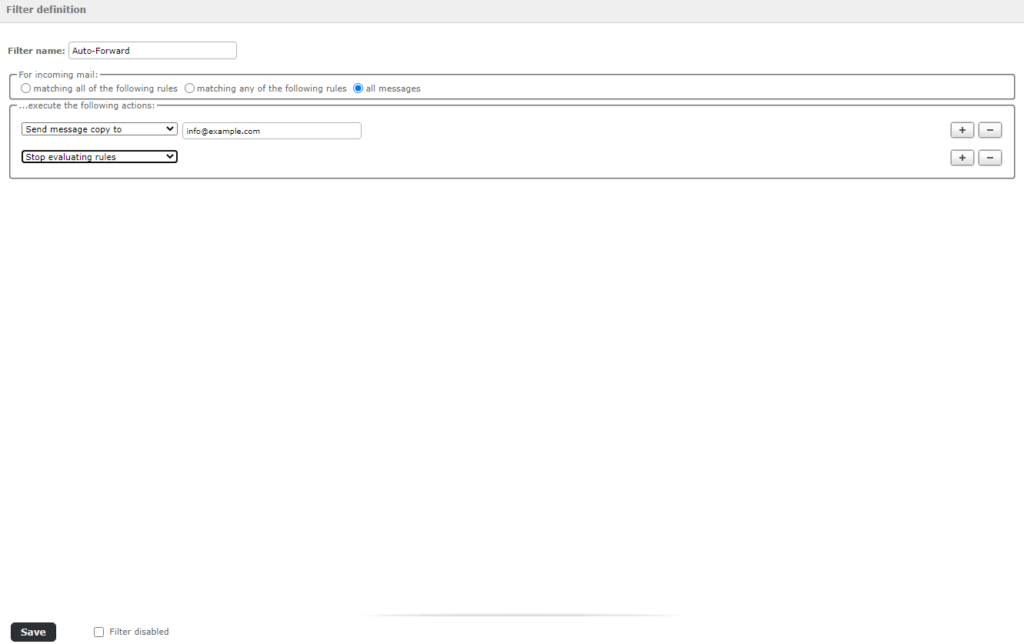
5. In the box labeled “Filter Name,” give a name to the filter.
Under “For incoming mail,” bubble in “all messages”:
- Set the first drop-down box to “Send message copy to”
- Type in one of your email addresses in the third box.
- Click the (+) sign on the right side. Then, select “Stop evaluating rules” from the drop-down box.
- Lastly, click Save.
If you have any questions or concerns, don’t hesitate to contact us at Centennial Arts with the link below!


2 thoughts on “Email Forwarding”